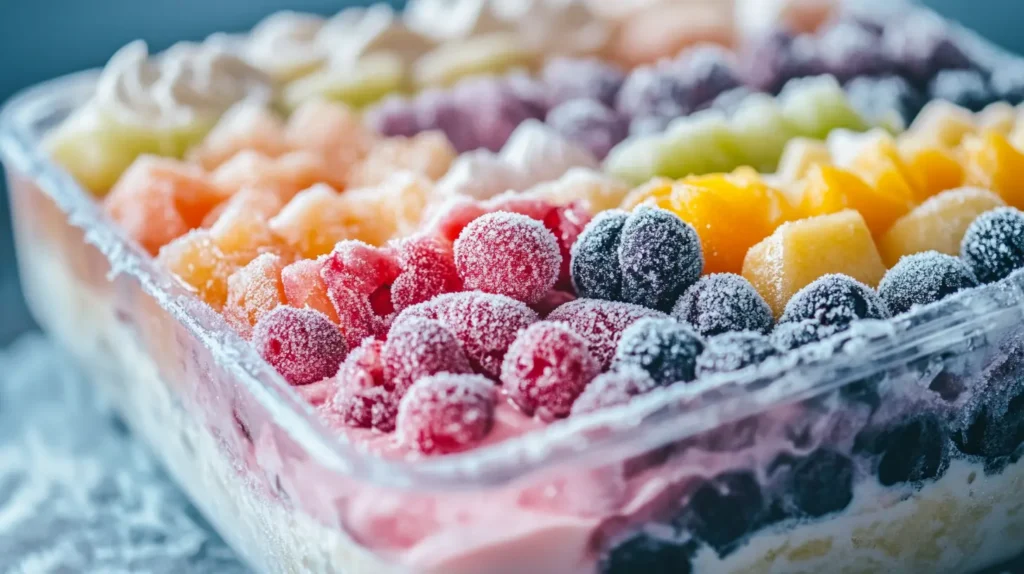
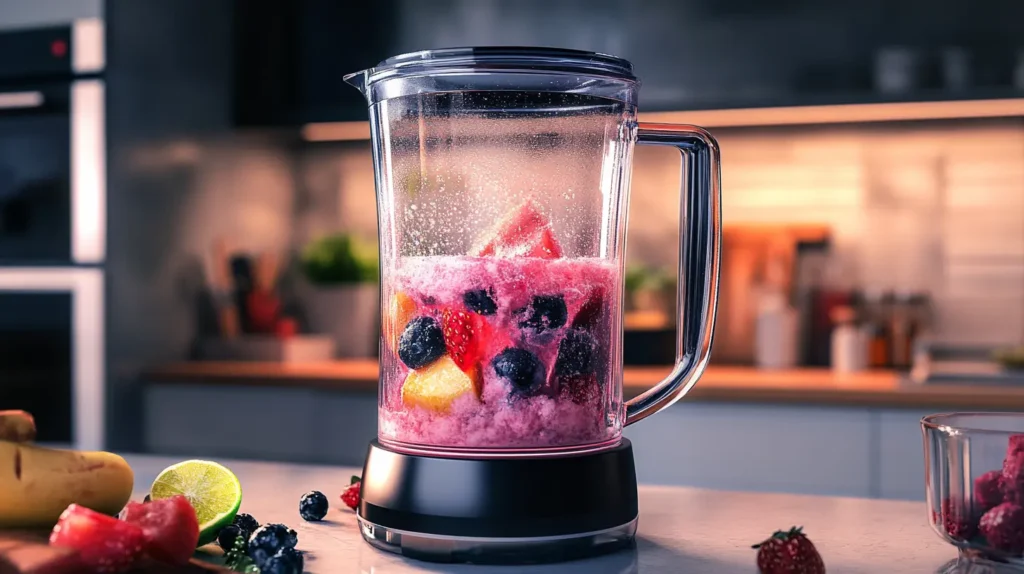
Ever wondered how to make Ninja Creami in a blender? You don’t need the specialized Ninja Creami machine to enjoy smooth, creamy frozen desserts at home. With the right techniques, a high-speed blender, and a little creativity, you can whip up indulgent treats that rival the real thing. This guide walks you through the entire process of making Ninja Creami desserts in your blender, from selecting the best ingredients to blending tips and tricks for achieving the perfect creamy texture.
Table of Contents
Understanding the Ninja Creami and Its Functionality
What Is the Ninja Creami?
The Ninja Creami is a unique appliance designed to create silky-smooth frozen desserts, but not everyone has one in their kitchen. That’s where learning how to make Ninja Creami in a blender comes in handy. This approach allows you to achieve a similar texture and flavor without needing the specialized equipment.
By using a blender, you can recreate the Ninja Creami experience by carefully preparing your ingredients and blending them to perfection. With a bit of patience and the right methods, your blender can mimic the results of the Ninja Creami for a fraction of the cost.
How Does It Differ from a Blender?
While the Ninja Creami uses a unique shaving and aeration process to achieve its signature texture, a blender can also create creamy frozen desserts when used correctly. Understanding how to make Ninja Creami in a blender starts with recognizing the blender’s strengths and limitations. You’ll need to adjust your technique, such as freezing ingredients properly and blending in stages, to achieve the same smooth and luscious consistency.
Ingredients You’ll Need for a Blender-Based Ninja Creami Recipe
Key Ingredients for Homemade Creamy Desserts
To replicate the smooth texture of a Ninja Creami dessert using a blender, the right ingredients are essential. Start with a rich and creamy base, such as whole milk, heavy cream, or Greek yogurt. These provide the necessary fat content for a luscious consistency.
Next, choose your flavoring agents. Popular options include fresh fruits like bananas, strawberries, or mangoes, which not only add natural sweetness but also help achieve that signature creamy texture. For a deeper flavor profile, try cocoa powder, vanilla extract, or nut butters.
Sweeteners are the finishing touch, and you have flexibility here. Whether you prefer classic sugar, honey, or a sugar substitute like stevia, adjust to your taste.
How to Choose Ingredients for Optimal Creaminess
The secret to perfect creaminess lies in balancing your ingredients. Use high-fat content dairy or dairy alternatives, as they are crucial for creating a silky finish. For a dairy-free option, coconut milk or cashew cream works wonderfully.
Avoid excessive water content. Too much liquid, such as juice or low-fat milk, can lead to an icy texture rather than a creamy one. Instead, freeze your fruit beforehand to minimize the need for additional liquid while maximizing smoothness.
Finally, don’t forget add-ins for texture and flavor variety, like crushed cookies, chocolate chips, or caramel swirls.
Step-by-Step Guide to Making Ninja Creami in a Blender
If you want to know how to make Ninja Creami in a blender step-by-step, preparation is the key. Start by freezing your base mixture—whether it’s fruit, cream, or yogurt—in a container until solid. Once frozen, break it into chunks and blend it at a low speed, gradually increasing to high.
Preparation: Freezing Ingredients Like the Ninja Creami

The Ninja Creami process begins with frozen ingredients, and this is a crucial step to mimic. Pour your base and flavor mixture into a freezer-safe container and freeze it until solid, usually 6–8 hours or overnight. If using frozen fruits, ensure they are evenly sliced for smoother blending.
Blending Techniques for Creamy Consistency
Once your mixture is frozen, break it into chunks small enough for your blender to handle. Begin blending on a low setting to avoid overwhelming the motor. Gradually increase the speed, scraping down the sides as needed.
If your blender struggles, add a splash of your liquid base to loosen the mixture. Pulse between blending to control consistency and prevent over-processing.
Adjusting for Texture and Flavor Preferences
Here’s where your creativity shines! After achieving a smooth base, fold in mix-ins like cookie crumbles, chocolate shavings, or fresh fruit pieces. This step not only enhances texture but also mimics the Ninja Creami’s ability to customize layers.
Taste your creation and tweak flavors as needed. Too sweet? Add a touch of lemon juice for balance. Not sweet enough? Mix in a bit more sweetener and blend briefly.
For relevant internal linking, consider visiting the article “How to Make Ninja Creami with Yogurt” to explore additional dairy-based recipes and techniques for a perfect frozen dessert.
Tips and Tricks for Achieving the Perfect Creaminess
Common Mistakes to Avoid When Using a Blender
When learning how to make Ninja Creami in a blender, a few pitfalls can trip you up. One common issue is overloading your blender with frozen chunks. While it’s tempting to add everything at once, this can strain your blender and lead to uneven mixing. Instead, work in smaller batches for consistent results.
Another mistake is adding too much liquid at the start. While it might help the blender work faster, excessive liquid often results in a runny dessert rather than the creamy texture you’re aiming for. Start with minimal liquid and add more gradually if needed.
Finally, skipping the scraping process is a rookie error. Regularly scraping down the sides ensures all ingredients are blended evenly, which is key to achieving that perfect texture.

Enhancing Flavor with Add-Ins
One of the best ways to personalize your blender-made dessert is through add-ins. Think mix-ins like crushed cookies, fudge pieces, or even swirls of caramel or fruit purée. These not only enhance flavor but also mimic the layered texture of desserts made with a Ninja Creami.
For a sophisticated twist, try adding spices like cinnamon or nutmeg, or even a splash of espresso for depth. Want a more indulgent dessert? Fold in whipped cream or drizzle melted chocolate over the finished product.
If you’re interested in other frozen dessert ideas, explore articles like “How to Make an Ice Drink in Ninja Creami” for additional tips and techniques.
Comparing Blender-Made Creami to the Original
Taste and Texture Differences
While a blender is versatile, its results differ slightly from the Ninja Creami’s signature desserts. The Ninja Creami is engineered for a refined texture, thanks to its precise shaving and emulsifying techniques. With a blender, achieving this texture requires a bit more effort, such as carefully balancing liquid and solid ingredients and incorporating mix-ins strategically.
That said, the taste can be just as satisfying. When you use fresh, high-quality ingredients, the flavor remains rich and customizable. And with the addition of your favorite toppings or mix-ins, you can still enjoy a dessert that’s uniquely yours.
Advantages and Limitations of Using a Blender
A blender’s biggest advantage is its accessibility. Most people already have one in their kitchen, making it an easy alternative to a Ninja Creami. Plus, blenders are versatile and can handle a variety of tasks beyond frozen desserts, from smoothies to soups.
However, limitations exist. Without specialized settings, blenders may struggle with very hard frozen blocks or produce a less consistent texture. You’ll also need to monitor blending closely to avoid over-processing.
For more dessert inspiration, check out articles like “Ninja Creami Recipes” on TonsRecipes.com. These can help you experiment with new flavors and ideas.
FAQs About Making Ninja Creami in a Blender
Can You Use Any Blender for This Recipe?
Yes, but the results may vary depending on your blender’s power and features. High-speed blenders like Vitamix or Ninja models work best, as they can handle frozen chunks more efficiently. If your blender isn’t as powerful, try thawing your frozen ingredients slightly or adding a splash of liquid to help the blades process the mixture.
What Is the Ideal Blender Speed for Creaminess?
Start at a low speed and gradually increase to a medium or high setting. This ensures even blending without overheating your motor or liquefying the mixture too much. Pulsing the blender can also help break down tough frozen chunks while maintaining a creamy texture.
How Long Does It Take to Blend Perfectly?
The blending process typically takes 1–3 minutes, depending on the texture you want. Pause to scrape down the sides as needed and check the consistency often. Over-blending can lead to a thinner texture, so aim for just enough blending to achieve smoothness.
Can You Store Blender-Made Creami for Later?
Yes! Transfer your dessert to an airtight container and freeze it. Before serving, let it sit at room temperature for 5–10 minutes to soften slightly.
Wrapping It All Up
Learning how to make Ninja Creami in a blender offers a fantastic way to enjoy creamy, indulgent desserts without needing specialized equipment. By carefully preparing your ingredients, blending with precision, and experimenting with add-ins, you can create frozen treats that rival the real thing.
Blender-made desserts may not perfectly replicate the Ninja Creami’s texture, but they allow for endless creativity and flavor combinations. Whether you’re adding crushed cookies, swirls of fruit purée, or spices, the possibilities are virtually limitless.
So, the next time you’re craving a smooth, refreshing treat, skip the store-bought options and whip up your own version at home. Not only will you save money, but you’ll also enjoy the satisfaction of creating something entirely your own.
For more creative ideas and recipes, don’t forget to check out other resources like “How to Make Ninja Creami with Yogurt.” Whether you’re a dessert enthusiast or a kitchen newbie, you’re sure to find inspiration to fuel your next culinary adventure.
Creative Variations to Try When Making Ninja Creami in a Blender
Dairy-Free Options for a Creamy Texture
If you’re avoiding dairy, there are still plenty of ways to achieve that signature creaminess. Coconut milk or cream is a fantastic substitute, offering both richness and flavor. Almond milk or oat milk combined with a frozen banana can create a smooth and velvety texture as well. For a protein boost, try adding silken tofu or cashew cream to the mix.
Fun Flavor Combinations to Explore
One of the best parts of learning how to make Ninja Creami in a blender is the freedom to experiment. Here are some unique flavor ideas to get you started:
- Tropical Paradise: Blend frozen pineapple, mango, and coconut cream. Add a splash of lime juice for a refreshing twist.
- Choco-Berry Bliss: Use frozen strawberries, cocoa powder, and a dollop of almond butter for a rich yet fruity dessert.
- Espresso Delight: Combine frozen Greek yogurt with espresso, a touch of vanilla, and a sprinkle of cocoa powder for a coffeehouse-inspired treat.
For a crunchier texture, fold in crushed nuts, chocolate chunks, or granola after blending.
Benefits of Making Creami Desserts at Home
Control Over Ingredients
When you make your own frozen desserts at home, you have complete control over what goes into them. This means no hidden sugars, artificial preservatives, or unnecessary additives. You can tailor recipes to suit your dietary preferences, whether you need low-sugar, dairy-free, or high-protein options.
Cost-Effective and Customizable
Buying store-bought frozen treats or investing in specialized equipment like the Ninja Creami can add up quickly. Using a blender you already own makes homemade desserts a budget-friendly alternative. Additionally, you can customize every batch to match your cravings or try new flavors without extra costs.
Fun for the Whole Family
Making creamy desserts in a blender can be a fun and engaging activity, especially for families with kids. Let everyone pick their favorite ingredients and create their own custom flavors. It’s a creative way to spend time together while enjoying a tasty reward.
By mastering how to make Ninja Creami in a blender, you’ll unlock endless possibilities for delicious, healthier treats that rival store-bought options. For more creative dessert recipes, check out articles like “Ninja Creami Recipes” for inspiration.

